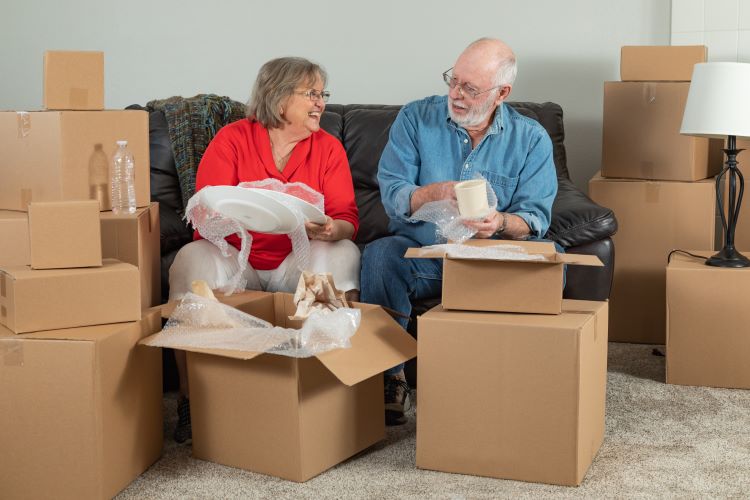
HOW TO PACK BREAKABLE ITEMS FOR A MOVE
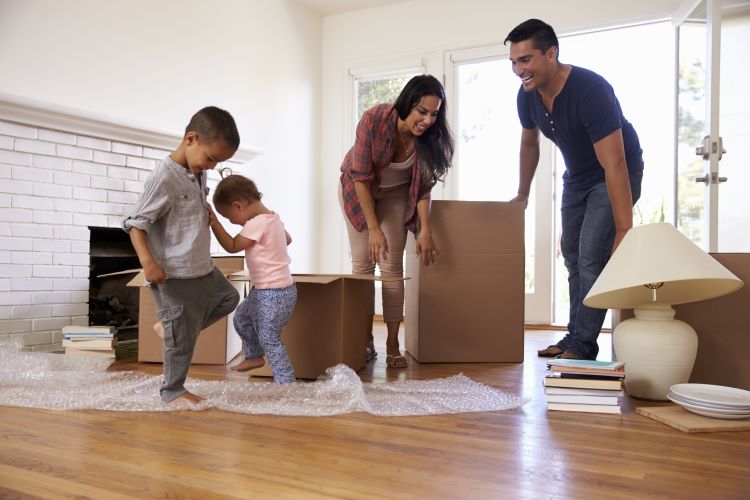
It’s a fact of life: things get broken. And, unfortunately, things we really care about often get broken during a move because they were hastily or incorrectly packed. No one wants to arrive at a new home and find that grandma’s antique china plates got chipped or a cherished wedding photo was ruined because the glass frame shattered during transit.
Packing fragile items like dishes, glasses, lamps, artwork, and mirrors takes proper planning, the right materials, and the correct packing techniques. How do you master these three areas? Space Makers Junk Removal “unpacks” the details for you:
PLAN
Rather than waiting until the moving van is at the door, make a plan weeks—even months—ahead of time.
FIRST, DECLUTTER
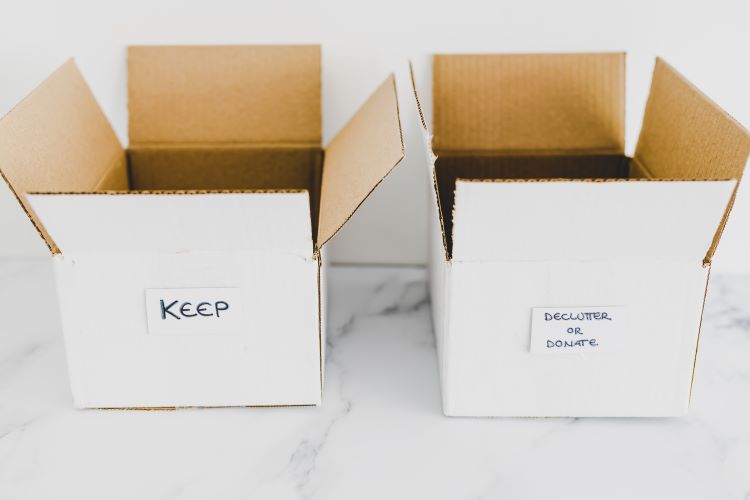
“One of the biggest packing mistakes I have seen while helping clients move is the lack of decluttering!” says San Antonio-area professional organizer Leigh Ann Pigg, whom Space Makers Junk Removal talked to through email. Before you move “is the perfect time to actually go through your items and declutter,” the owner of The Tidy Pigg says. The less you have to pack, the less you have to move and then unpack. You don’t want to get to your new home, she continues, and “realize you didn’t need over half of the items you packed. Taking time to declutter and manage the items you want with you will help you save so much time in the long run, especially when it comes to those tricky breakable items.”
SET UP A PACKING STATION
Leigh Ann advises that people go room by room and complete one room before moving on to another. In each room, set up a “packing station” to process the room. Start by sorting items into “three different piles: a keep pile, a donate pile, and a trash pile. This will allow you to declutter in a smoother fashion because you are taking the time to go through your items and decide if you still need them in this season of life,” explains Leigh Ann.
After you declutter a room, you’re ready to start packing.
Start with the breakables first, Leigh Ann recommends. “Once breakable items are stored, then your remaining boxes should be filled with items in similar categories (example: games, shoes, workout gear, etc.). Making stations to move along with in the packing process makes a smoother transition when moving because you were intentional about the items you packed and the supplies you packed it with.”
If you have people helping you pack a room, set them up as part of the station, too, Leigh Ann says. One person can be folding and taping boxes, while another wraps breakables. A third person could be in charge of labeling boxes.
GET GOOD PACKING MATERIALS
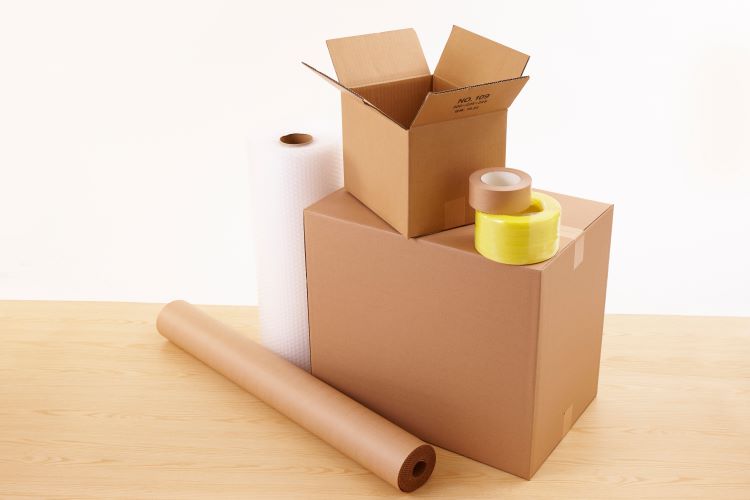
Packing materials that adequately transport and cushion breakables are essential. Leigh Ann orders packing materials online through Amazon, but she also uses Lowes or Home Depot, as well as Walmart, especially when she doesn’t have time to wait for items to be shipped to her. Here are materials you’ll need to protect breakable items from damage.
BOXES
Used boxes and newspapers “seem most handy,” Leigh Ann says, but “they won’t be the most reliable when it comes to moving your items from point A to B.” Used boxes aren’t as sturdy, and they require extra taping; the ink on newspapers can stain items. Especially for breakable items, “purchasing reliable packing products will benefit you in the long run,” she stresses, “and not leave you with the worry in the back of your mind [about whether] you ‘put enough layers around the kids’ ceramic-made plates.’”
The best type of box for packing fragile items is usually a medium-sized or small box, a box that won’t be too heavy to handle once it’s full. And it needs to be full. Leigh Ann says she often sees clients make the mistake of “not using their packing boxes to their full potential and leaving wasted space. Having wasted space gives your items more room to wiggle around and possibly break . . . because they weren’t properly packed away.”
For glasses and cups, you can purchase specialized boxes or kits with dividers to keep delicate items separated from one another.
PACKING PAPER
Packing paper is ink-free, often acid-free paper that comes in either sheets or rolls that you can buy from places like Home Depot, Lowes, Walmart, office supply stores, or you can order it online. Use packing paper, also called brown paper, to wrap fragile items. Crumple it up and place it on the bottom of a box to cushion items, and crumple it around items to take up wasted space in a box.
FOAM SHEETS AND CORNER PIECES
Foam for layering between dishes comes in sheets or rolls is also available online or at hardware and office supply stores. For artwork, mirrors, and photos, purchase large foam pouches, foam corner pieces, and rolls of packing foam.
BUBBLE WRAP
Bubble wrap is great for cushioning fragile items, and it comes in both sheets and rolls. After your move, don’t throw it away! Save it for another move, pass it on to others who are moving, or recycle it. While it can’t go in your curbside recycling, Leigh Ann says you can look for larger public containers “that are designated for plastic bags and bubble wrap material.” You can always use towels in place of bubble wrap, too.
PACKING TAPE AND TAPE DISPENSER
SCISSORS
MARKERS
LABELS
“Labeling your boxes properly is key to a successful move because it will save you (and your helpful movers, family members, or even spouse) from having a blow out,” Leigh Ann says. Labels, she adds, should be simple and easy to read. Whether you use a large stick-on label or write on the box, you need to make sure each box is labeled with its contents, the room it goes in, and if it’s fragile. For example: LAMP—LISA’S BEDROOM—FRAGILE. The word “fragile” should appear on all sides of the box and preferably be written in red or bold marker, she says. Leigh Ann also cautions clients to be specific when it comes to labeling a box’s location. Labeling a box “bedroom” can mean any bedroom, whereas labeling it “Lisa’s bedroom” ensures it gets to the correct location.
USE CORRECT PACKING TECHNIQUES
Packing fragile items takes more effort than packing other items, but that effort is worth it when you open a box and find that something you treasured has survived the move just fine. But while you pack dishes one way, you need a different approach for other delicate items, like artwork, mirrors, and photos.
DISHES, PLATES, BOWLS
Use small to medium boxes for dishes. Too many dishes in a large box is not only heavy but risks damage to the dishes. Max suggested weight: 50 lbs.
Reinforce box bottoms with several layers of packing tape.
Line the bottom of the box with paper or bubble wrap.
In general, place heavier items on the bottom of the box. A large serving plate, for example, would go on the bottom, and you could stack dinner plates on top of it.
Grab a large sheet of packing paper (make sure it’s big enough to cover the circumference of the dish you’re wrapping). Place the dish in the center of the sheet and fold one corner of the paper around the dish so it’s completely covered up. Then stack a dish on top of that dish. Fold the three remaining corners of the paper around that dish, and then tape the paper up.
Place the pair of dishes in a medium box on their sides, not flat. This will protect them better if the box is dropped, for example.
Wrap and place as many dishes as will fit in the box, then fill in any space left with bubble wrap, crunched-up paper, towels, or small pillows.
Tape the top of the box securely with several layers of tape.
GLASSES AND CUPS
Use medium-sized boxes. If you can, use boxes specifically designed for glassware. These are sturdier and have partitions or dividers to insert the glasses into.
Add extra packing tape to the bottom.
Wad up sheets of paper or line the bottom of the box with a thick towel.
Pack the heaviest glassware first. Set out a piece of packing paper or bubble wrap and stuff one corner into the glass or cup. Next, roll the glass or cup across the paper, stuffing the ends of the paper inside it. The glass or cup should be completely wrapped up.
You can wrap two glasses together, if needed. Wrap the first glass entirely, then nest a second glass inside it and wrap the two together. Better yet, nest a glass in a plastic tumbler.
If you aren’t using a box with partitions, then layer glasses into a box. Make sure heavier glasses are on the bottom.
WINE GLASSES
Wrap the stem first with a smaller sheet of paper, then wrap the whole glass in a larger sheet.
Do not nest wine glasses.
Do not place wine glasses on the bottom of a box with other items on top.
Leave ample room at the top of the box for bubble wrap, wadded paper, or towels.
LAMPS
Measure the lamp—get the right sized box for the base of the lamp. Leave room for packing material around the lamp.
Take off the shade and the bulb. Wrap the cord around the base and tuck the plug end into the cord.
Roll out some bubble wrap. Lay the lamp on its side in the center of the wrap, then roll it up. Wrap tape around the bubble wrap. For lamps with heavy, breakable bases like glass or porcelain, add another layer or two of bubble wrap and secure that with tape.
Set the wrapped lamp in the box with the base down, and fill in the space around the lamp with paper or bubble wrap. The idea is to keep the lamp from shifting around in the box.
Use a separate box for the shade (or use one box for several shades that will stack together easily). Wrap the shade in packing paper (not newspaper because the ink will transfer to your shade). For delicate shades, you might place a layer of bubble wrap in the bottom of the box and on top of the lamp before sealing up the box.
PAINTINGS, MIRRORS, FRAMED PHOTOS, AND ARTWORK
Do not use newspaper. The ink will get on your art.
Buy cardboard corner guards for frames.
Use clean hands. Preferably, wear acid-free gloves, cotton gloves, or plastic gloves when handling artwork. Oils from your hands can damage paint or antiques.
Sort by size. Large pieces will need their own box, but smaller pieces can be packed in one box, with layers of packing paper or bubble wrap between them.
Buy artwork or mirror boxes for valuable items. These boxes often come with removable foam padding and plastic linings.
Make a custom box by flattening other boxes and taping them together to create a box that bends around artwork that’s been wrapped in several layers of bubble wrap or another packing material; then secure the box with packing tape.
To prevent glass covers in frames from shattering, place packing or masking tape in an X pattern over the glass.
For paintings, wrap the painted side in layers of plastic wrap or stretch wrap.Place packing paper twice the size of the art on a table or flat surface. Lay the glass side or the painted side down, then wrap the paper around the object. Secure the paper with packing tap that goes all the way around the object, up and down. Then wrap the object in bubble wrap with the bubbles on the outside, not the inside. Secure the bubble wrap with tape as well.
Place the artwork in a box, making sure to pad it so it doesn’t move around.
Tape up the box.
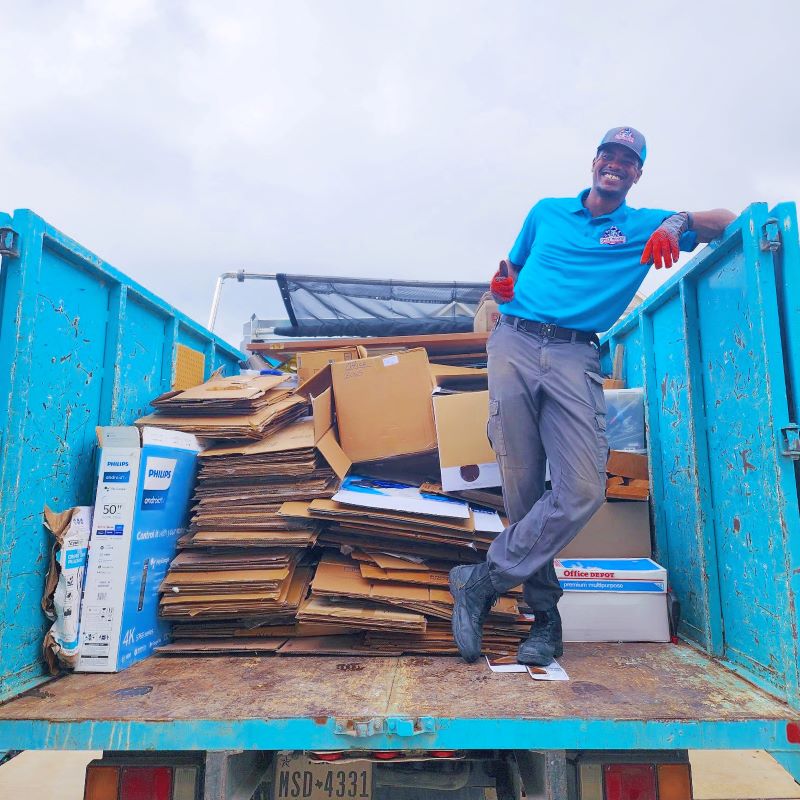
Packing for a move is a huge endeavor, and if you’re trying to do it yourself, the process can be truly overwhelming—physically and emotionally. It’s okay to get a little help from family, friends, or professionals like Leigh Ann. Your local junk removal specialists can also come in handy. After you’ve packed up your house for a move, call Space Makers Junk Removal to come haul off anything left behind, such as furniture, appliances, equipment, lawn furniture, boxes—anything that you’re not taking with you. And once you get to your new home, if it’s in the San Antonio area, we are the local junk removal service near you. We can come take away any junk that just won’t fit in your new home. Call us at 210-405-1410 and we’ll be there!